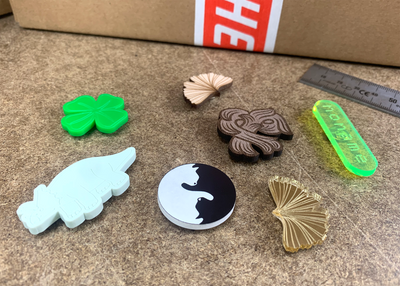
All our materials can be cut with a laser, but not every laser source is able to cut our materials. There is a difference between a diode and a CO2 laser, for example, and the amount of wattage also affects the cutting range.
The best way to find out what you can cut with your laser is by running tests at different speeds and power. We have made it easy for you, and tested all the materials we offer at Lasersheets on our own machines. This way, we collected the best settings to use with all our sheet material.
In this list you will find an overview of all our materials. We have tested them for you, to determine if they can be cut with a diode (20W) laser cutter, and to find out what are the best settings for doing this.
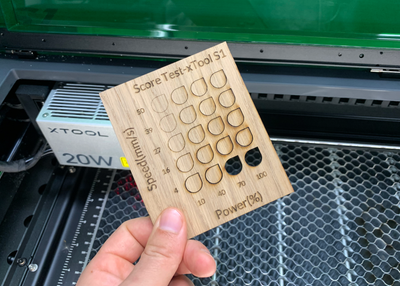
Download Cutting Test Results on the Xtool 20W in PDF here
On top of that, we have created a tutorial about how you can quickly and easily run your own tests with the X-tool for all new X-tool fans and users.
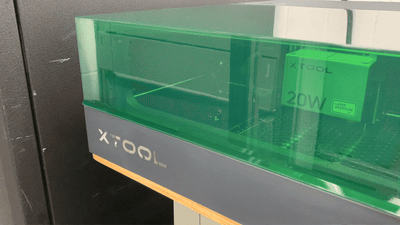
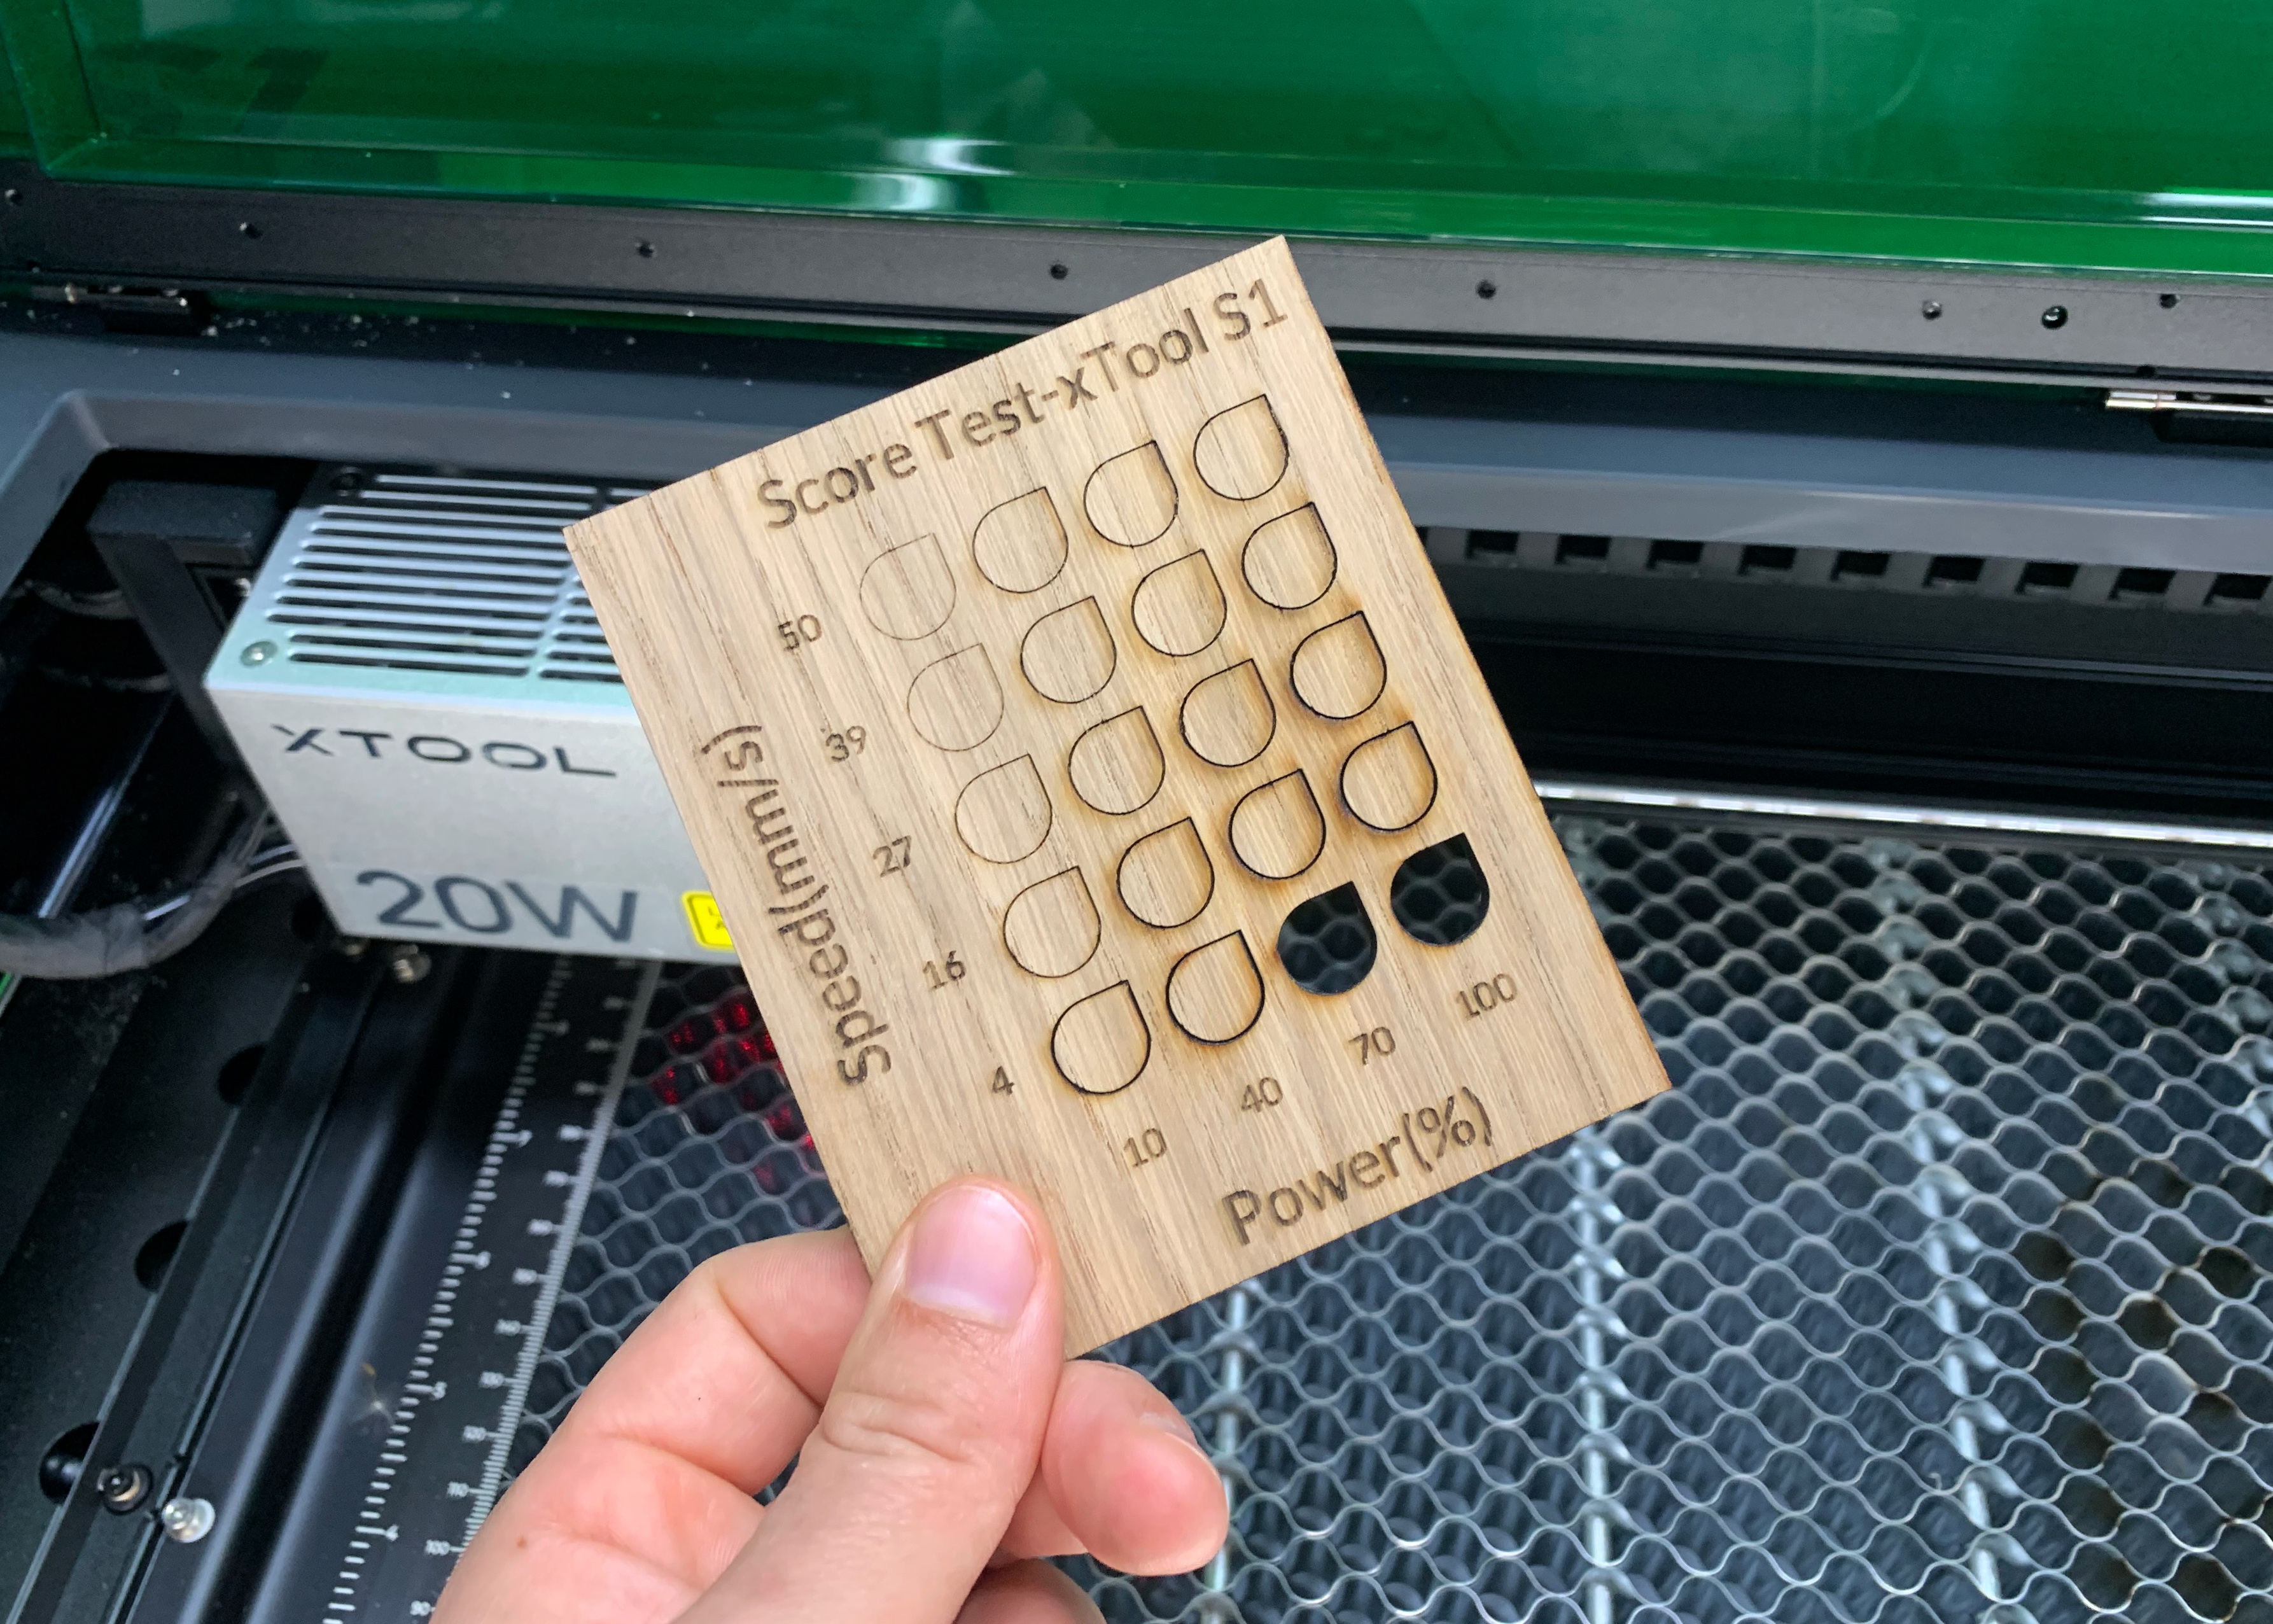
Testing with the X-tool
The X-tool is an ideal laser cutter for testing. In the associated software Creative Space you can indicate the range within which you want to run your tests, by using a number of parameters. A grid will then appear with increasing speed, power and even the number of passes per box.
This is how you make a laser-cutting test with the Array Tool :
- Select a Shape
- Enter Size
- Select Array > Material Test Array
- Enter the parameters in the pop-up (Material test array) in
- Ungroup everything with right mouse button
- Put lines in the right layer Score / Engrave / Cut
- Just test it!
Let’s explain this in a bit more detail
After opening Creative Space, start by selecting a Shape . Assign a size to the 10 x 10 mm shape. This is a comfortable size for testing; you will not lose too much material, but you will still get a clear indication of what is possible. You can multiply this shape automatically via Array > Material Test Array.

A pop-up will now appear, for you to enter the parameters. All boxes contain their own power and speed. All is in the low-score. Use the right mouse button and select Ungroup, to place the text in the Engrave layer. Finally, add a cutting frame to the grid with a low speed and high power, to ensure that the outer shape is cut loose.


Are you unsure about which parameters to use for the material you want to test? Do not panic, not much can go wrong. Do you still need more help? Then these files will get you started.
Here are our files for laser tests
Wood 0.5 - 3 mm score_0.5-3.0mm_wood.xcs
Wood 4 - 9mm score_ 4.0-9mm_wood.xcs
Plastics 0.5 - 3 mm score_ 0.5-3.0mm_plastics.xcs
Foam 1 - 20mm score_ 1.0-20mm_foam.xcs